How to add salt to your pool
Add pool-grade salt directly to the water with the circulation pump running and the salt chlorinator switched off, then brush until dissolved. Calculate the dose from your pool volume and the difference between measured salinity and your chlorinator’s recommended target.
Never pour salt into the skimmer. Keep chlorine generation off during mixing, and follow your equipment manual’s circulation interval before restarting it. Dissolved crystals alone do not confirm that salt is evenly distributed throughout the pool.
If you are setting up a saltwater pool for the first time, confirm equipment compatibility and balance the water before adding salt. If you already have a working system, start by testing salinity and calculating the amount needed.
Step 1: Confirm your salt chlorinator and target salinity
A saltwater pool uses a salt cell to generate chlorine from dissolved salt. Adding salt alone does not sanitize a pool. You need a working chlorinator, adequate water flow, and enough chlorine production to meet demand.
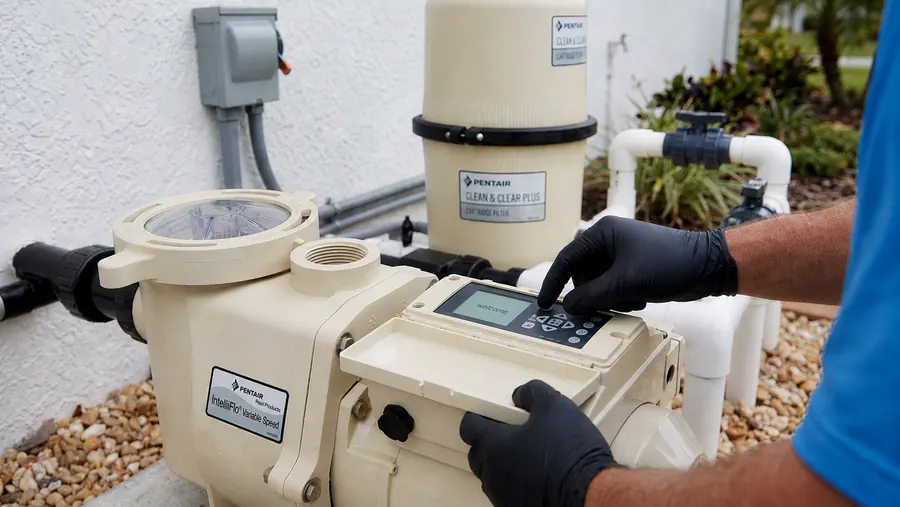
Find the model number on the cell and controller. Check the manual for the operating salt range, recommended target, compatible cell model, and startup procedure. Equipment placement, flow sensing, and electrical requirements differ by system, so a universal plumbing or plug-in checklist is not appropriate.
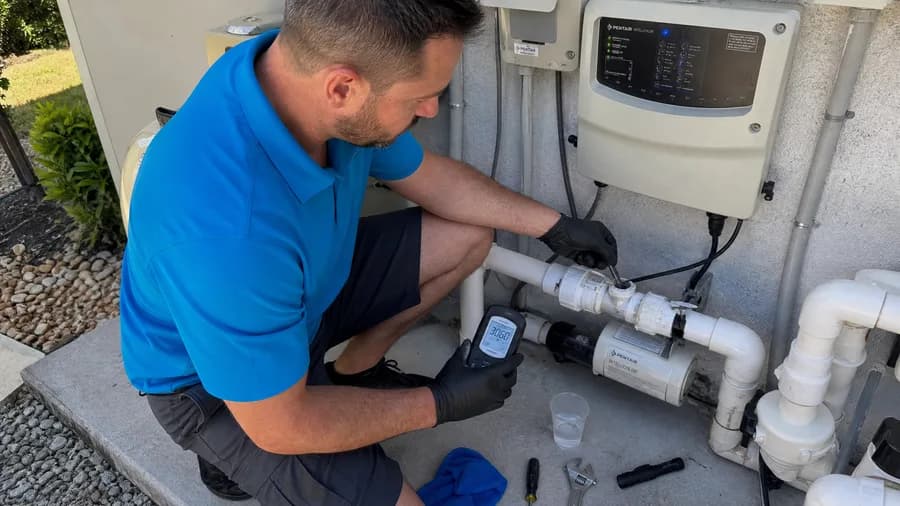
For existing equipment, confirm that the controller recognizes the correct cell model and reports adequate flow. If the cell needs replacement, match it to the controller and pool’s chlorine demand. Our technicians confirm the appropriate replacement after inspecting the equipment.
Across over 2,600 salt readings on our San Diego, Los Angeles, and Sacramento routes, median salinity was 3,200 ppm. Use your chlorinator’s specified target when calculating an addition, even if it differs from that figure.
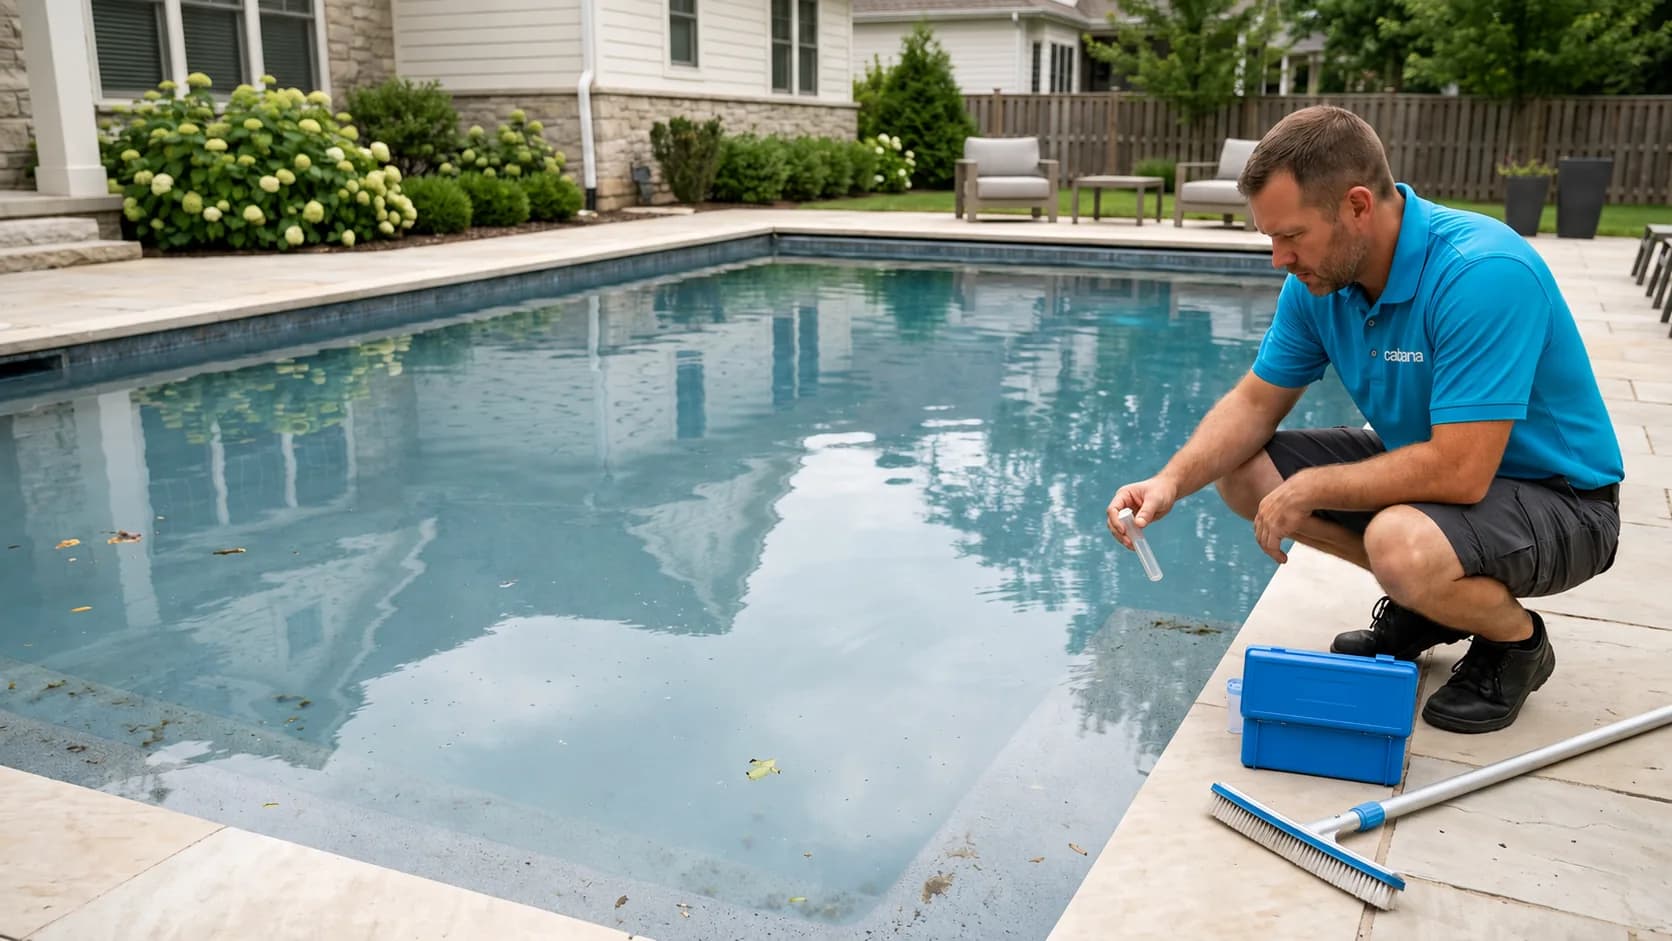
Test the water independently before acting on a low-salt warning. Use a salt-specific drop test, salt test strips, or a calibrated salinity meter. Ordinary chlorine and pH strips may not measure salt. A scaled cell, cold water, or a sensor problem can produce a warning that another bag will not fix.
How much salt should you add to your pool?
You need three inputs: pool volume in gallons, current salinity in parts per million, and the manufacturer’s target salinity. Test even if the pool has never used a chlorinator, because its water may already contain salt.
Salt needed in pounds = pool gallons × 8.35 × (target ppm minus current ppm) ÷ 1,000,000.
If current salinity already meets or exceeds the target, add no salt. For a 10,000-gallon pool at 2,000 ppm with a target of 3,200 ppm, the required increase is 1,200 ppm. That works out to about 100 pounds, or two and a half 40-pound bags.
How many 40-pound bags do you need?
The table below assumes a target of 3,200 ppm. Use it only if that target fits your equipment. Amounts are approximate, so add less than the full calculated dose initially, circulate, and retest before completing the adjustment.
| Pool volume | Current salt | Salt to add | 40-pound bags |
|---|---|---|---|
| 10,000 gallons | 0 ppm | 267 pounds | 6.7 bags |
| 10,000 gallons | 2,000 ppm | 100 pounds | 2.5 bags |
| 15,000 gallons | 0 ppm | 401 pounds | 10 bags |
| 15,000 gallons | 2,000 ppm | 150 pounds | 3.8 bags |
| 20,000 gallons | 0 ppm | 534 pounds | 13.4 bags |
| 20,000 gallons | 2,000 ppm | 200 pounds | 5 bags |
Do not round up to the next full bag. Weigh the partial amount, and check the bag’s actual weight before using the bag count.
Estimate pool volume before buying salt
For a rectangular pool, multiply length × width × average depth in feet × 7.48 to estimate gallons. For a round pool, multiply diameter × diameter × average depth × 5.87. Use the water depth, not the height of the pool wall.
A simple average of shallow and deep depths works best with a uniform slope. Irregular shapes, large steps, and separate deep sections need a more detailed volume estimate. An overstated volume produces an oversized salt dose.
Step 2: Balance the water before starting chlorine generation
Check free chlorine, pH, total alkalinity, calcium hardness, and cyanuric acid before startup. Salt does not correct an imbalance in any of these readings.
Use these starting targets for an outdoor residential saltwater pool. Confirm them against your chlorinator manual and pool surface requirements before dosing. Evaluate calcium hardness and alkalinity together with pH, water temperature, and overall water balance.
| Check | Target and decision before startup |
|---|---|
| Free chlorine | For a saltwater pool, maintain at least 5 percent of the CYA reading as free chlorine. At 60 to 80 ppm CYA, that means a minimum of 3 to 4 ppm free chlorine. A working target of 4 to 6 ppm provides a margin above that minimum. Follow any higher equipment or sanitizer-label requirement. Do not wait for a newly started cell to sanitize untreated water. |
| pH | Aim for 7.4 to 7.6, unless your equipment instructions specify otherwise. |
| Total alkalinity | Use 80 to 120 ppm as a common startup range. Some salt systems recommend a lower range to manage rising pH, so check the manual before raising alkalinity. |
| Cyanuric acid | Many outdoor salt chlorinators recommend 60 to 80 ppm CYA. Measure before adding stabilizer, and use your model’s specified range. Set the chlorine target from the resulting CYA reading. |
| Calcium hardness | Use 200 to 400 ppm as a common starting range, subject to pool surface and equipment requirements. Check overall water balance before adding calcium or deciding that a high reading requires dilution. |
Test source water before choosing a calcium adjustment
San Diego, Los Angeles, and Orange County receive substantial imported Colorado River and State Water Project water. This hard source water adds minerals with each top-off. Evaporation leaves those minerals behind, so test pool hardness before adding calcium, even after replacing water.
If hardness is already high, test the replacement water too. Dilution with similarly hard tap water may provide less improvement than expected. Keep pH within target and inspect the salt cell for deposits at its recommended interval.
Sacramento’s American River and Folsom Lake supplies, and the East Bay’s Mokelumne River supply, are generally softer. After a refill, check for calcium hardness below your pool’s required range. Do not copy a Southern California treatment routine that assumes calcium is already excessive.
Do not use soda ash as a routine calcium-hardness reducer. It raises pH and can cause calcium precipitation. Make chemical adjustments separately, following each product label’s dose and circulation instructions.
Step 3: Add, dissolve, and retest the salt
- Choose the correct salt. Use pool-grade sodium chloride that meets your chlorinator’s purity requirements. Avoid products with fragrances, colorants, or additives unless the equipment manual specifically permits them.
- Run the pump and switch off chlorine generation. Keep water circulating while preventing the cell from operating during the salt addition.
- Spread the measured salt through the pool. Follow the manual’s placement instructions. Avoid concentrated piles and keep salt out of the skimmer.
- Brush settled crystals. Move salt off the floor and steps until no visible deposits remain. Do not leave piles sitting on the pool surface.
- Continue circulation. Follow the manufacturer’s mixing interval. A universal overnight wait does not fit every pool and system.
- Retest before adding more. Sample well-mixed water away from return outlets and the addition point. If the result remains below target, calculate the remaining shortfall.
- Restart and verify operation. Once mixing is complete and salinity is within range, enable the chlorinator. Check flow, warnings, and free chlorine as the system begins operating.
Keep swimmers out during chemical additions. Resume swimming after salt has dissolved, required circulation is complete, and sanitizer and pH meet the applicable product and equipment instructions. Salinity alone does not establish that the water is ready.
What if you add too much salt?
Confirm the reading with an independent salt test before taking action. Excess salinity can trigger a high-salt shutdown and contribute to equipment corrosion. Letting water evaporate will not remove the salt.
Reducing salinity requires dilution with lower-salt water. The amount depends on both the pool reading and replacement-water salinity. Before removing water, have us assess a controlled pool draining and restart service for your pool’s conditions.
Maintain salt levels and know when to request service
Add salt according to a verified test result, not a monthly schedule. Salt remains behind during evaporation. Splash-out, filter backwashing, leaks, and water replacement remove it; rain can dilute its concentration.
In Southern California’s inland valleys and Sacramento’s hot, dry summers, evaporation and chlorine demand can rise together. Restore the normal water level before testing salinity. Low chlorine during hot weather calls for a check of output, pump runtime, stabilizer, and cell condition before adding salt.
Along the Southern California coast, May and June marine-layer mornings can keep chlorine demand below inland summer levels. Recheck free chlorine when gray weather gives way to sustained sun. Increase output only if testing shows the existing setting cannot maintain your target.
After Santa Ana winds, remove leaves and debris and empty skimmer baskets before checking flow and chlorine. Dust and organic debris can increase sanitizer demand, while clogged baskets reduce circulation. Neither condition establishes a need for more salt.
Set pump runtime and chlorine output from measured sanitizer demand and equipment requirements. There is no universal ten-hour daily limit. Test free chlorine and pH daily during startup and after output changes until the settings maintain the required levels.
Inspect the cell at the interval specified in its manual. If deposits appear, follow that model’s cleaning procedure. Avoid a universal acid dilution or soaking time, and do not acid-clean a deposit-free cell.
- Low salt confirmed by testing: calculate and add only the shortfall.
- Normal salt with a persistent warning: check cell condition, temperature, flow, and sensor operation.
- Normal salt with low chlorine: assess chlorine demand and production settings.
- Repeated salt loss: investigate water loss or replacement before repeatedly topping up.
If a warning persists after mixing and independent testing, arrange saltwater pool troubleshooting and repair. Share the cell model, displayed warning, measured salinity, and recent chemical additions so our technicians can assess the equipment.