Choose a rinse, an acid cleaning, or an equipment check
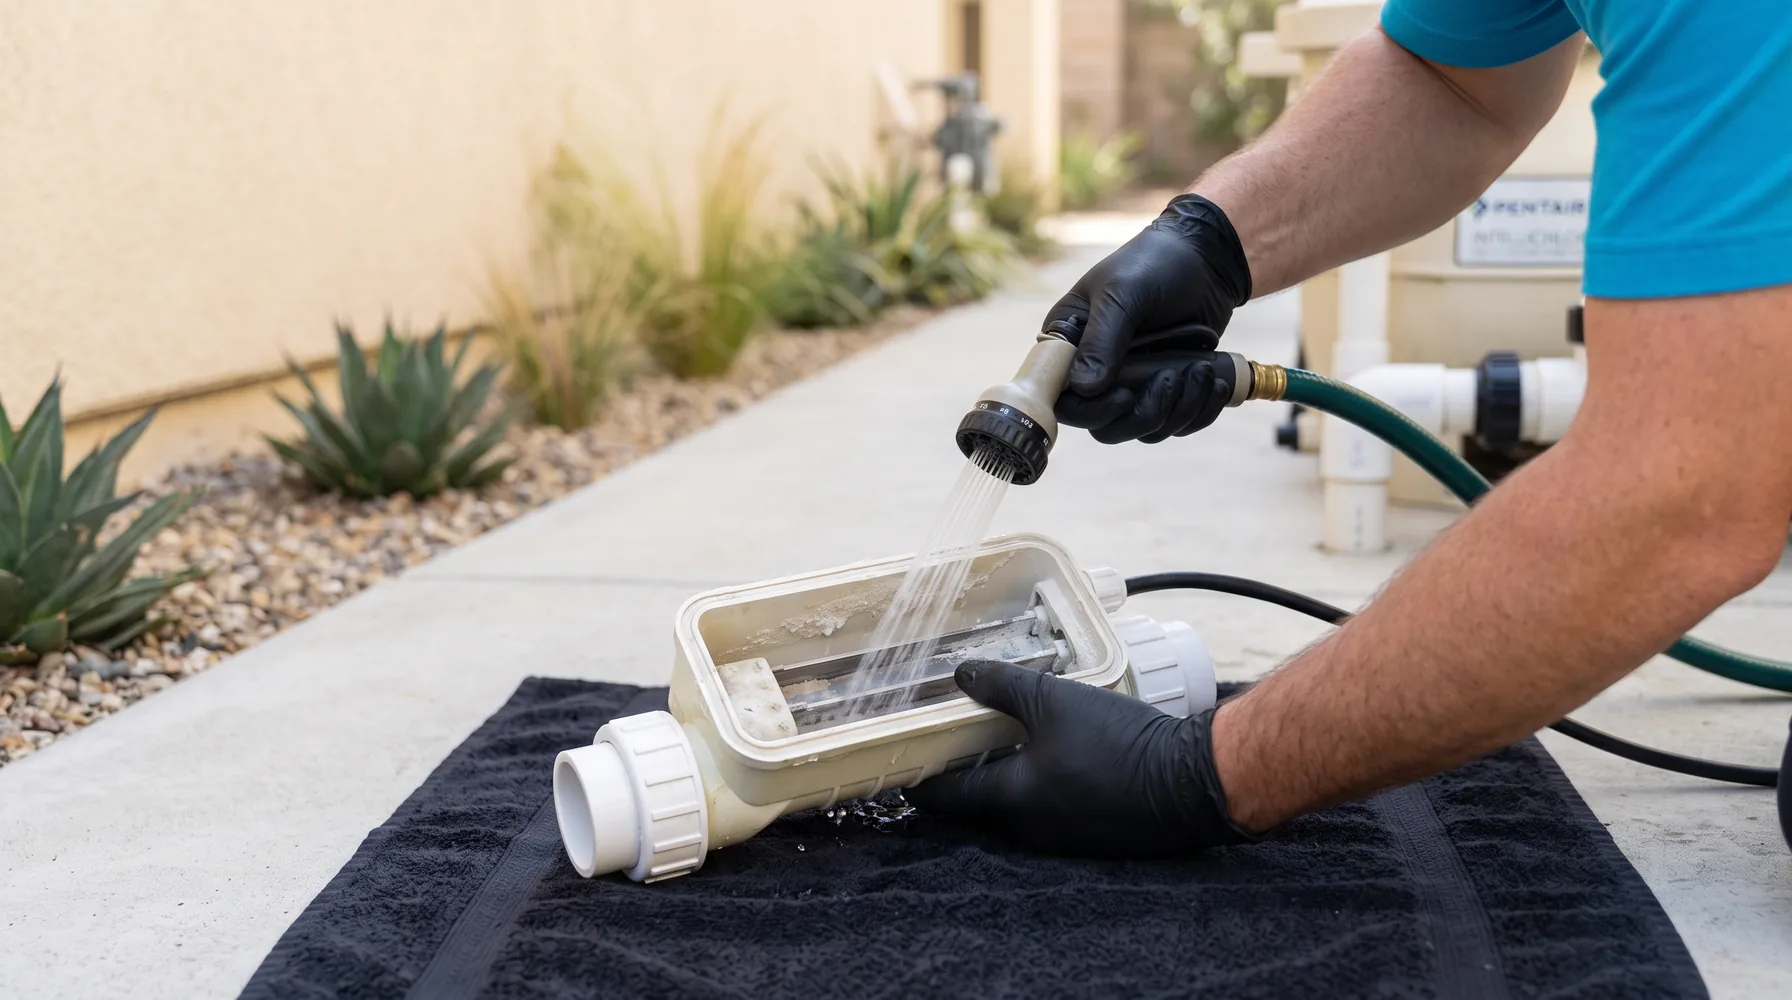
To clean a salt cell, switch off power to the pump and salt system, safely release pressure, remove the cell, and rinse it with a garden hose. Use an acid cleaner only if hard white deposits remain and your cell’s manual allows it.
The white crust between the metal plates is usually calcium scale, a hard mineral deposit. Loose dirt may rinse away. Hard crust can need chemical cleaning, but clean plates gain nothing from an acid bath. Unnecessary acid exposure can wear away the coating that helps the cell produce chlorine.
| What you find | What to do | Time and risk to consider |
|---|---|---|
| Clear spaces between plates, with no crust | Skip chemical cleaning. Check any warning separately. | Avoid spending time on a soak that cannot fix an unrelated fault. |
| Loose debris between plates | Try a garden hose rinse. | This avoids chemical handling, but removal still requires power and pressure precautions. |
| Hard white deposits remain after rinsing | Follow the model’s approved cleaning procedure or arrange service. | Chemical cleaning requires protective equipment, supervision, and proper disposal. |
| Damaged plates, a cracked housing, or a persistent warning | Arrange an equipment check. | Another acid soak can add wear without restoring chlorine production. |
DIY cleaning requires the correct supplies and enough time to complete the entire procedure safely. Professional service depends on the cell model, buildup, access, and whether testing reveals another equipment problem. See our salt water pool service and pricing details when deciding which route fits.
Find the model number before removing the cell
Read the model label and find its cleaning instructions before loosening anything. Salt cells differ in their removal steps, permitted cleaners, cleaning stands, and maximum chemical exposure. A mixing ratio from another brand is not a safe substitute.
Gather a garden hose, the approved cleaning stand or container if needed, and the protective equipment specified by the cleaner’s label. For acid handling, that includes chemical splash goggles and acid-resistant gloves. Keep children and pets away from the work area.
- Turn off chlorine production and the pump. Disconnect power at the appropriate breakers so a timer or automation system cannot restart them.
- Follow the equipment manual to release trapped pressure. Confirm the pressure gauge reads zero before opening the plumbing.
- If the cell sits below pool water level, follow the system’s isolation procedure. Stop if you cannot prevent water from flowing out.
- Photograph the cell’s orientation and connections. Disconnect its cable only as the manual directs.
- Loosen the unions, the threaded collars joining the cell to the pipes. Support the cell so its weight does not pull on the plumbing.
If a collar will not turn normally, stop before forcing it. A damaged fitting can turn a routine cleaning into a leak repair.
Rinse first and look between the plates
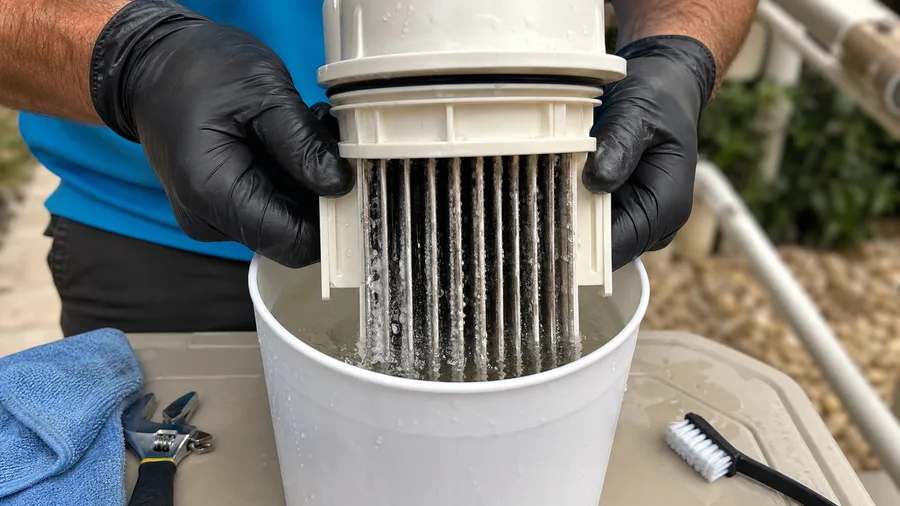
Look through both ends of the cell in good light. Check the gaps between the plates for white crust, trapped leaves, and other debris. A reminder light alone does not prove that these gaps are blocked.
Use an ordinary garden hose stream to rinse the inside. Keep electrical plugs and any external electronics dry. Do not use a pressure washer, wire brush, screwdriver, or metal scraper on the plates. Their coating can be damaged even when the metal underneath looks intact.
Inspect again after rinsing. If the gaps are clear and no hard deposits remain, move to reassembly. If stubborn crust remains, use the chemical procedure approved for that exact model.
Stop if you see bent plates, loose internal parts, or damaged wiring. Cleaning removes deposits; it cannot restore broken components.
Use acid only with the cell’s exact instructions
Some cells permit diluted muriatic acid, while others specify a particular cleaner or method. Use the product strength, dilution, and maximum contact time stated for your equipment. There is no single soak time or mixing recipe that belongs on every salt cell.
If the procedure calls for diluting acid, work outdoors in a well-ventilated area. Put water into a compatible container first, then slowly add acid to the water. Never pour water into concentrated acid. Keep acid away from chlorine products and other cleaners, and avoid breathing the fumes.
- Fit the approved cleaning stand or cap as directed. Keep the cell stable and upright.
- Add the approved solution only to the specified level. Do not immerse electrical connections or the entire assembly unless its instructions expressly permit that method.
- Stay nearby and watch the cleaning process. Bubbling can occur as acid reacts with scale. Stop at the manual’s endpoint or maximum exposure time, whichever comes first.
- Handle the used solution according to its label and local disposal requirements. Do not pour it into a street or storm drain.
- Rinse the cell thoroughly with fresh water before reinstalling it.
Do not leave the cell soaking overnight or make the mixture stronger to speed things up. If deposits remain after the permitted treatment, stop and arrange an assessment instead of repeating acid baths indefinitely.
Check for leaks and chlorine production after cleaning
Inspect each sealing ring, often labeled an O-ring, before reassembly. Remove grit and check for splits or flattening. Use lubricant only if the equipment manual specifies a compatible product.
Reinstall the cell in its required orientation and tighten the unions as directed. Restore any valves you closed. Follow the system’s startup procedure, establish water flow, and check the connections for leaks before enabling chlorine production.
Once flow is stable, check the controller for normal operation. Reset an inspection reminder only according to the manual and after completing the inspection. Clearing a reminder does not prove that the cell is producing chlorine.
Test the pool’s free chlorine with a reliable water test. That measures the chlorine available to sanitize the water. If it is below the appropriate range for your pool’s stabilizer level, address it before swimming. A clean cell may need time to replace missing chlorine and may not keep up with an immediate shortage.
If a low-salt or no-flow warning remains, avoid adding salt or repeating cleaning automatically. Verify the salt level independently and check circulation. Our technicians can check the cell, flow sensing, and power supply when clean plates do not resolve the warning.
Set the next inspection by buildup, not a soak schedule
Use your manufacturer’s inspection interval as the starting point. Inspecting and acid cleaning are different tasks: inspect on schedule, but chemically clean only when deposits require it. Record the inspection date and whether you found scale.
In San Diego, Los Angeles, and Orange County, hard source water and evaporation make calcium buildup a practical concern. If crust returns quickly, test pH, alkalinity, and calcium hardness before scheduling another soak. High pH can encourage scale, and repeated cleaning will not correct the water balance causing it.
Sacramento and East Bay source water is generally softer. Do not assume a warning there means heavy calcium buildup, and do not lower calcium hardness without testing. The water currently in your pool determines the next step.
- Clear plates and normal operation: return to the manual’s inspection schedule.
- Scale returning between inspections: check water balance and inspect sooner while correcting it.
- Clean plates with low chlorine or recurring warnings: arrange diagnosis before another chemical cleaning.
For a service visit, have the model number, warning message, recent water results, and last cleaning date ready. We confirm the appropriate cleaning or repair after seeing the equipment.