
Having issues with your pool lights? The solution may be as simple as resetting a breaker, or it might involve more complicated electrical work — in this guide, we’ll walk you through the troubleshooting process for pool light repair and help you decide when it’s time to call in the professionals.
Pool Light Troubleshooting in Three Easy Steps
Whether you’re dealing with a pool light not turning on, a pool light flickering, or any other similar issue, figuring out what to do is as easy as 1-2-3:
1. Check for a tripped GFCI outlet or circuit breaker
Pool light not working at all? This problem can often be solved with just the touch of a button.
Specifically, we’re talking about the reset button on a GFCI outlet. These outlets are designed to automatically shut off when even the slightest leakage of current is detected — they are typically installed in place of a standard outlet in areas near water, due to the increased risk of shock. If your dead pool light is connected to a GFCI outlet, try resetting it to see if that does the trick.
You can also check your breaker box to see if the circuit for your pool light has been tripped. In that case, you simply need to switch it off and then back on again.
If resetting a GFCI outlet or circuit breaker initially fixes the problem only for it to immediately trip again, this points to a more significant issue with the electrical components, cables, or power supply for your pool light. Working with electricity can be dangerous, so in this instance you should strongly consider consulting a professional rather than taking a DIY approach.
2. See if the bulb needs to be replaced
Once you’ve ruled out the possibility of a tripped breaker causing your pool light issue, the next step is to check out the bulb. Indeed, a dead, dim, or flickering pool light is a sign that the bulb may need to be replaced.
To remove and test one of your pool light bulbs:
- It’s not necessary to drain your pool, but for safety reasons you should cut off the power to the pool light fixture before you mess with it at all.
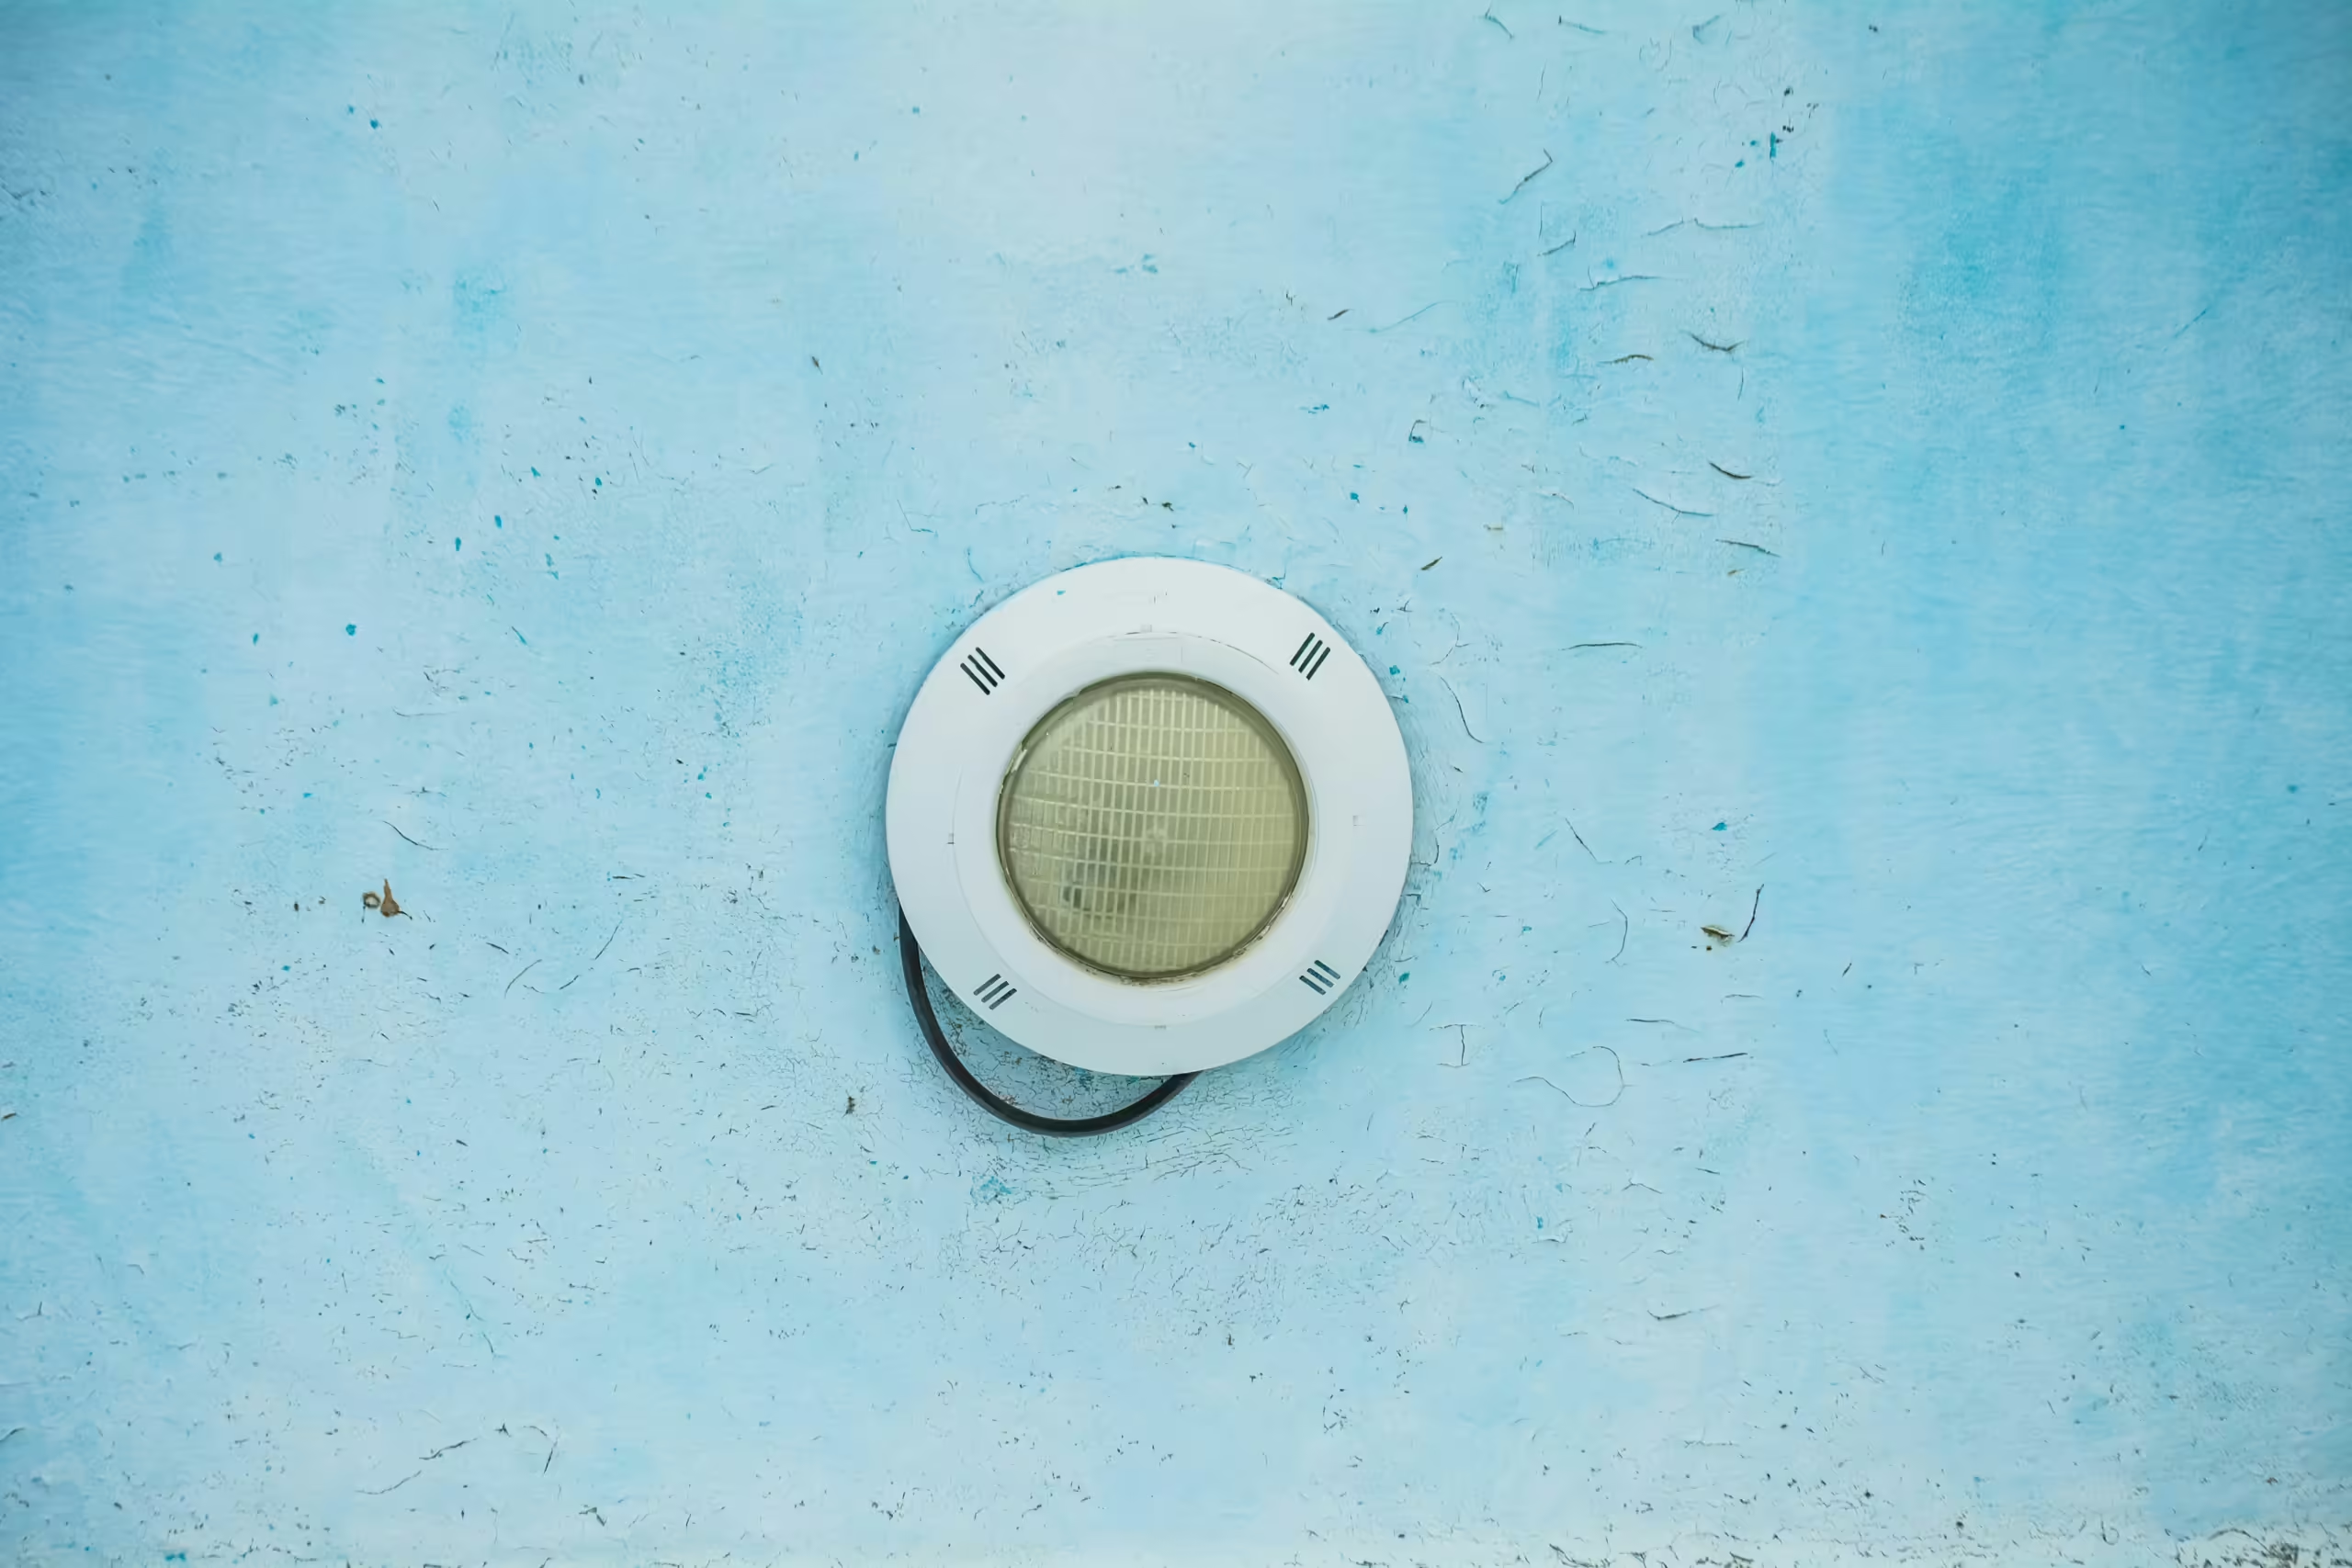
- Pool lights are typically held in place with a single screw at the top of the fixture. In most cases, you won’t even need to get in the pool — just reach down into the water with a screwdriver and remove this screw.
- Once the screw is out, wriggle the fixture until it pops out of its niche. The fixture will then float toward the surface, and there should be enough cord for you to pull it out of the water and set it down next to the pool.
- Remove the glass lens from the front of the fixture, which is usually attached with a compression bolt. Use a screwdriver, or a wrench and pliers if necessary, to spring the bolt open. Once the compression bolt is off, you may be able to remove the lens by hand, or you might need to use a flathead screwdriver to pry it off. Be careful not to drop the lens, as it can easily break.
- Unscrew and remove the bulb. You can then screw it into any ordinary lamp inside your home to see if it will work in another fixture.
If the bulb also doesn’t work in another fixture, then you’ll know it needs replacing.
Purchase a new pool light bulb, making sure it’s compatible with your fixture. We recommend going with an LED light — while they tend to be slightly more expensive upfront than incandescent/halogen options, you’ll save money in the long run due to reduced energy costs. LED lights last much longer, too.
While you’re at it, you should purchase a new gasket as well. A fresh gasket will help prevent water from leaking into the fixture, allowing you to avoid more expensive repairs down the road.
To install your new bulb and gasket:
- Screw the new bulb into your pool light fixture.
- Remove the old gasket from around the glass lens. Clean the lens (especially the edges) before popping the new gasket on — otherwise, debris might get in the way of a perfect seal.
- Put the lens back on and reattach the compression bolt to the ring around the lens. Make sure this is tightened all the way.
Now you just need to put the pool light fixture back into place. First, tuck all of the cord back into the niche. There should be a hook at the bottom of the fixture that you can attach to the bottom of the niche, and then reattach the screw back to the top of the fixture to finish the job.
3. Call a professional
If a tripped breaker or burnt-out bulb wasn’t the issue, then you’re likely looking at a more complicated repair.
The problem may be with the fixture itself. For example, if water exposure has damaged any electrical components, the entire fixture might need to be replaced.
There also may be issues with the wiring, such as fraying or poor insulation, or with the transformer that delivers power to your pool light fixture.
Problems like these often require draining your pool and working directly with electricity, so they’re best left to experienced pool service professionals.
How Much Does Pool Light Repair Cost?
In the table below, we’ve summarized the average cost of various pool light services to help you budget for potential repairs:
| Service | Cost |
| Basic swimming pool light repair (e.g., replacing a worn-out gasket) | $65 to $150 |
| Pool light fixture replacement | $450 to $1,700 |
| Pool light wiring work | $350 to $4,000 |
Of course, while this data gives you a good general idea of what to expect, these are still relatively wide ranges. For more specific pricing information, you can contact the experts at Cabana Pools to get a quote for your particular project today.

